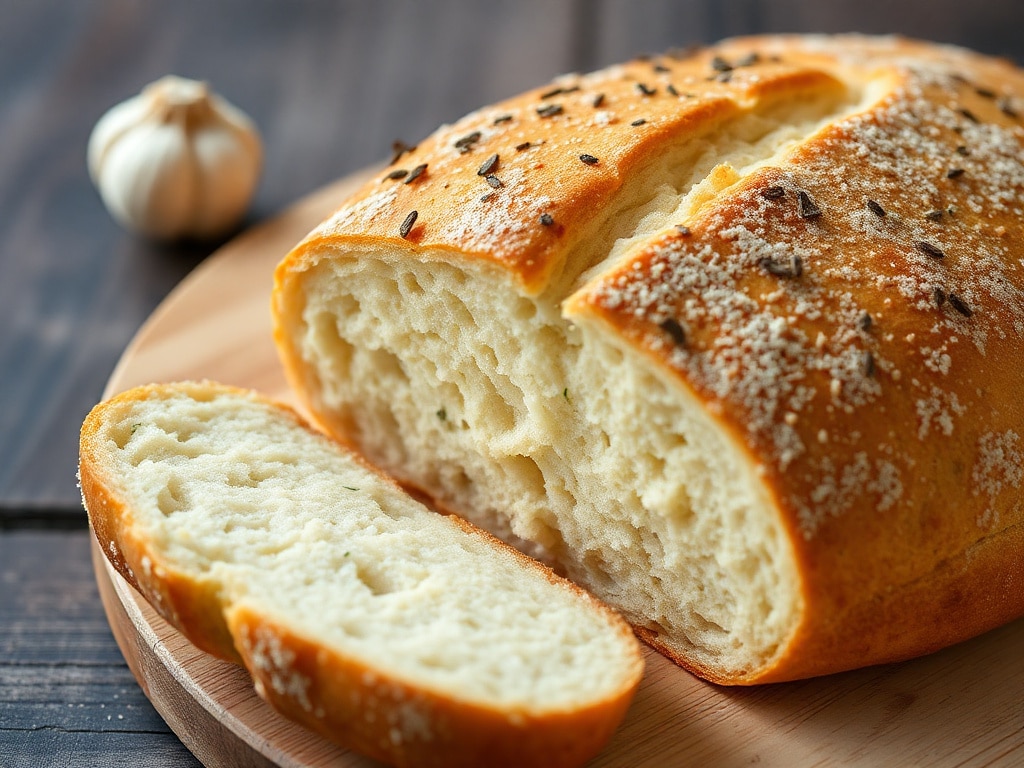
Wild Garlic Bread
Here’s a delightful recipe featuring wild garlic, a forest-grown herb I deeply cherish.
Ingredients
– Servings: 12
– Flour: 500 g
– Milk: 200 ml
– Water: 50 ml
– Fresh wild garlic: 90 g
– Semi-salted butter: 40 g
– Fresh yeast: 15 g or 5 g of dry yeast
– Sugar: 15 g
– Coarse salt: 6 g
Preparation
Total Time
– 4 hours
Prep Time
– 30 minutes
Cook Time
– 30 minutes
1. Preparing the Wild Garlic
In a mold measuring 25 x 8 x 7.5 cm, wash each leaf of wild garlic thoroughly and let it drain well. Allow it to dry out between two clean towels. This step can be done the day before.
2. The Dough
Start by placing the fresh yeast in the bowl of your stand mixer. Blend the water, milk, and wild garlic in a blender until you have a smooth green liquid. Warm this green mixture slightly in a saucepan, then pour it over the yeast and stir with a spoon. Melt the butter in the same saucepan used to warm the green liquid. Add all the ingredients, except for the salt, into the mixer’s bowl. Using the dough hook, knead at medium speed for three minutes, then increase the speed slightly and continue kneading for another seven minutes. Add the coarse salt and knead for an additional minute. Cover the bowl and let the dough rise in a warm place (about 28°C or use the proof setting of your oven at 40°C) for approximately an hour and a half.
3. Baking
Punch down the dough on a floured surface. Transfer the green dough into a loaf pan lined with parchment paper (30 x 15 cm). Allow the dough to rise again in the oven set to “proof” at 40°C. Preheat the oven to 240°C with convection heat. Place the bread in the oven and bake for 8 to 10 minutes at 240°C, along with a bowl of hot water. Then, reduce the temperature to 180°C and continue baking for 30 minutes. Once done, remove the bread from the oven, unmold it onto a rack, and let it cool completely before slicing.
Similar Posts:
- No-Machine Spelt Bread: Effortless, Rustic Baking At Home!
- Chestnut Flour Bread: The Delicious Trend You Need to Try!
- Subway’s Italian Bread Controversy – What You Need to Know!
- Saint-Nicolas Milk Bread Craze: Discover Manalas!
- Easy Sugar Galette Recipe: Master French Baking at Home!

Sophia Harris is a lifestyle contributor at Lady and The Track, where she writes about both fashion and recipes. With a passion for combining style and culinary expertise, Sophia brings a unique perspective to the team. She loves to explore how food and fashion intersect in daily life, offering readers tips on everything from creating stylish outfits to preparing trendy meals. Sophia’s articles are full of practical advice and creative inspiration for fashionistas and food lovers alike.